One of the hardest parts of my chosen profession is saying good bye to a cherished friend when they pass away. This week, one of my dear class members at Chambrel- Bob Barr- passed. I was very fortunate to get to know Bob over the past year- he was a very dear man who was kind and friendly to everyone- and he reminded me a lot of my own Dad.
Bob was married over 60 years and was a devoted husband and father- and one of the most creative people I have met. He really enjoyed our classes and made some lovely things for his wife and family over the past year.
His wife had recently passed away - only six weeks ago- very unexpectedly. I had the opportunity to spend some one-on-one time with Bob during a Friday afternoon when only he and I showed up to do a craft class. It had only been a week or two since his wife had passed and he was still adjusting to the idea of her being gone. We sat and talked about what had happened and how he felt for almost two hours that day.
I am so grateful for the time I was able to spend with him that day because I felt like I was able to be a comfort to him during a very tough time. And it is a wonderful thing to be able to help in even the smallest way when someone is grieving a loss like his- one that I could only imagine.
Our little group at Chambrel is full of wonderful people who genuinely care about one another- and we will all miss our friend Bob very much. It was really strange to see his empty spot at the table this week- but we know he is happy to be with his dear wife again.
So to my friend Bob- Thanks for the memories- we love you and wish you Happy Trails!
Until next time!
Stephane

Creative Life Engagement Activities for Seniors
Monday, January 31, 2011
Saturday, January 29, 2011
Bird Feeders at The Courtyard
One of the most fulfilling parts of my work is when I bring a project that really makes a difference in my students' day. On Thursday, I worked with the folks in Memory Care at The Courtyard in Mesquite. Such a sweet group of people. We made ice cream cone bird feeders to hang in the trees. It is really a very simple project but has been quite popular with all of my Memory Care classes this month.
Mother Nature gave us a beautiful warm and sunny January Texas afternoon so many of my class members were able to go outside and hang the bird feeders in the trees and on the patio area where they can watch the birds (and most likely squirrels) enjoy their tasty treats in the coming weeks.
Everyone really enjoyed making the project and engaged in the class by watching, making the feeders or hanging them outside. And this project keeps on giving pleasure to everyone for weeks to come.
Here are a few shots of the class making their feeders. Hopefully I will be able to post some photos of them hanging their feeders as well:

Quick Tutorial on how to make ice cream cone bird feeders
Sugar cones ( Kroger has a great store brand- $1.89 for 12)
Smooth Peanut Butter
Paper or Styrofoam Plate
Plastic knives and large metal spoon for peanut butter
Plastic container with Bird seed and Cheerios ( can also add dried cranberries or berries from holly bushes)
Pipe Cleaners ( the color red attracts a variety of birds)
Kitchen Shears
Instructions:
Snip the end off of your ice cream cone with the kitchen Shears
Make a small loop in your Pipe Cleaner
Thread your pipe cleaner in the hole of your ice cream cone so that your loop anchors your cone
Then just ice your ice cream cone liberally with your plastic spoon- just like icing a cake.
Dip your ice cream cone into the bird seed mixture and pat in the cheerios.
Hang in trees by looping the pipe cleaner around a small branch.
The peanut butter smells so good, it is important to remind students not to eat the cone or the peanut butter- and it is a good idea to have a snack ready for the end of class- cause the peanut butter always makes everyone hungry! This would also be a great project for children to participate in as well!
Until next time- Stay creative and always remember its about the experience, not being perfect!
Stephane
Mother Nature gave us a beautiful warm and sunny January Texas afternoon so many of my class members were able to go outside and hang the bird feeders in the trees and on the patio area where they can watch the birds (and most likely squirrels) enjoy their tasty treats in the coming weeks.
Everyone really enjoyed making the project and engaged in the class by watching, making the feeders or hanging them outside. And this project keeps on giving pleasure to everyone for weeks to come.
Here are a few shots of the class making their feeders. Hopefully I will be able to post some photos of them hanging their feeders as well:
 | |
| Our class working away on their feeders |
 | |
| Happy with a job well done! |
 |
| What a pretty smile! |

 |
| Ice Cream Cone Bird Feeders |
Quick Tutorial on how to make ice cream cone bird feeders
Sugar cones ( Kroger has a great store brand- $1.89 for 12)
Smooth Peanut Butter
Paper or Styrofoam Plate
Plastic knives and large metal spoon for peanut butter
Plastic container with Bird seed and Cheerios ( can also add dried cranberries or berries from holly bushes)
Pipe Cleaners ( the color red attracts a variety of birds)
Kitchen Shears
Instructions:
Snip the end off of your ice cream cone with the kitchen Shears
Make a small loop in your Pipe Cleaner
Thread your pipe cleaner in the hole of your ice cream cone so that your loop anchors your cone
Then just ice your ice cream cone liberally with your plastic spoon- just like icing a cake.
Dip your ice cream cone into the bird seed mixture and pat in the cheerios.
Hang in trees by looping the pipe cleaner around a small branch.
The peanut butter smells so good, it is important to remind students not to eat the cone or the peanut butter- and it is a good idea to have a snack ready for the end of class- cause the peanut butter always makes everyone hungry! This would also be a great project for children to participate in as well!
Until next time- Stay creative and always remember its about the experience, not being perfect!
Stephane
Wednesday, January 26, 2011
Fabric Wreaths at Signature on the Lake
This afternoon my ladies at Signature on the Lake had a good time making the tied fabric wreaths. We really enjoyed designing our wreaths, and every one was just a little bit different. We found that this is a pretty time consuming project and even after about 1 1/2 hour working on our wreaths, we still had a while to go. So for my classes, this project will end up being a two-parter. Everyone in this class took supplies home with them so that they can complete the fabric tying over the next few weeks ( some have arthritis in their hands so the going can be a little slow) and we plan to do the finishing touches on our wreaths the next time we meet.
One of my students has pretty severe arthritis in her hands, so we plan to do a wrapped version of our fabric wreath; Wrapped wreaths are a great alternative for those who do not have the hand strength or stamina to tie lots of double knots.
Here are our works in progress- will post our completed projects in a couple of weeks:
This was my first try teaching the fabric wreath class. Prep time includes an hour or two measuring and pre-cutting fabric strips. But we found this to be an easy project for individuals with almost any ability level to complete with very little assistance- and the results are really darli ng!
Great Job Ladies! Looking forward to seeing the finished product before Valentines Day!
Stay Engaged- Be Creative!
Stephane
One of my students has pretty severe arthritis in her hands, so we plan to do a wrapped version of our fabric wreath; Wrapped wreaths are a great alternative for those who do not have the hand strength or stamina to tie lots of double knots.
Here are our works in progress- will post our completed projects in a couple of weeks:
 | |
| It sure gets quiet when we are concentrating! |
Great Job Ladies! Looking forward to seeing the finished product before Valentines Day!
Stay Engaged- Be Creative!
Stephane
Fun with Fabric Topiaries at Treemont


The supplies needed to complete a small fabric topiary are:
Fabric Squares- cut in about 1 1/4 to 1 1/2 inch squares (depending on the size of your Styrofoam ball)
Styrofoam ball
Wooden Skewer
Wooden Dowel
Clay Pot
Floral Foam
Shredded Paper or Excelsior
Acrylic Paints
Foam Brushes
Foam plates to be used as paint palette
Embellishments- ribbon, glitter, silk leaves and flowers etc.
Hot glue gun and lots of hot glue

Instructions:
- Take fabric squares, place right side against the styrofoam ball and punch in with small skewer using the blunt side of the skewer. If you are going to use different types of fabric for your design, then alternate between fabrics to create design.
- Place the next piece of fabric as close as you can to your first piece and punch it in- then repeat, and repeat and repeat. A small styrofoam ball will take about 1/3 of a yard of fabric and approximately 30-45 minutes to complete.
- Paint Pot and dowel with acrylic paint. Apply glitter while paint is wet if desired. Leave to dry.
- Once the fabric ball is completely covered you can assemble your topiary. Poke your larger dowel into the fabric ball.
- Make sure you cover the hole of the pot with a small piece of styrofoam plate and hot glue it to the bottom of the pot to make sure your dowel does not slip all the way through.
- Put the florist foam in your pot, I usually do not have to hot glue the foam into the small pots, but for larger topiaries you do need to hot glue the foam into the pot, and should you decide to layer the balls, you may need to secure your dowel with plaster of paris.
- Secure the dowel into the florist foam ( sometimes I run a bead of hot glue around the stick to secure).
- To cover the florist foam I have used Excelsior, paper shreds and wood shreds depending on the theme.
- To finish topiary, add ribbon, silk flowers or other decorations of your choice
 |
| Close up of Fabric Topiary |
Showing off our finished projects- each one as unique and pretty as it's designer- Lovely!


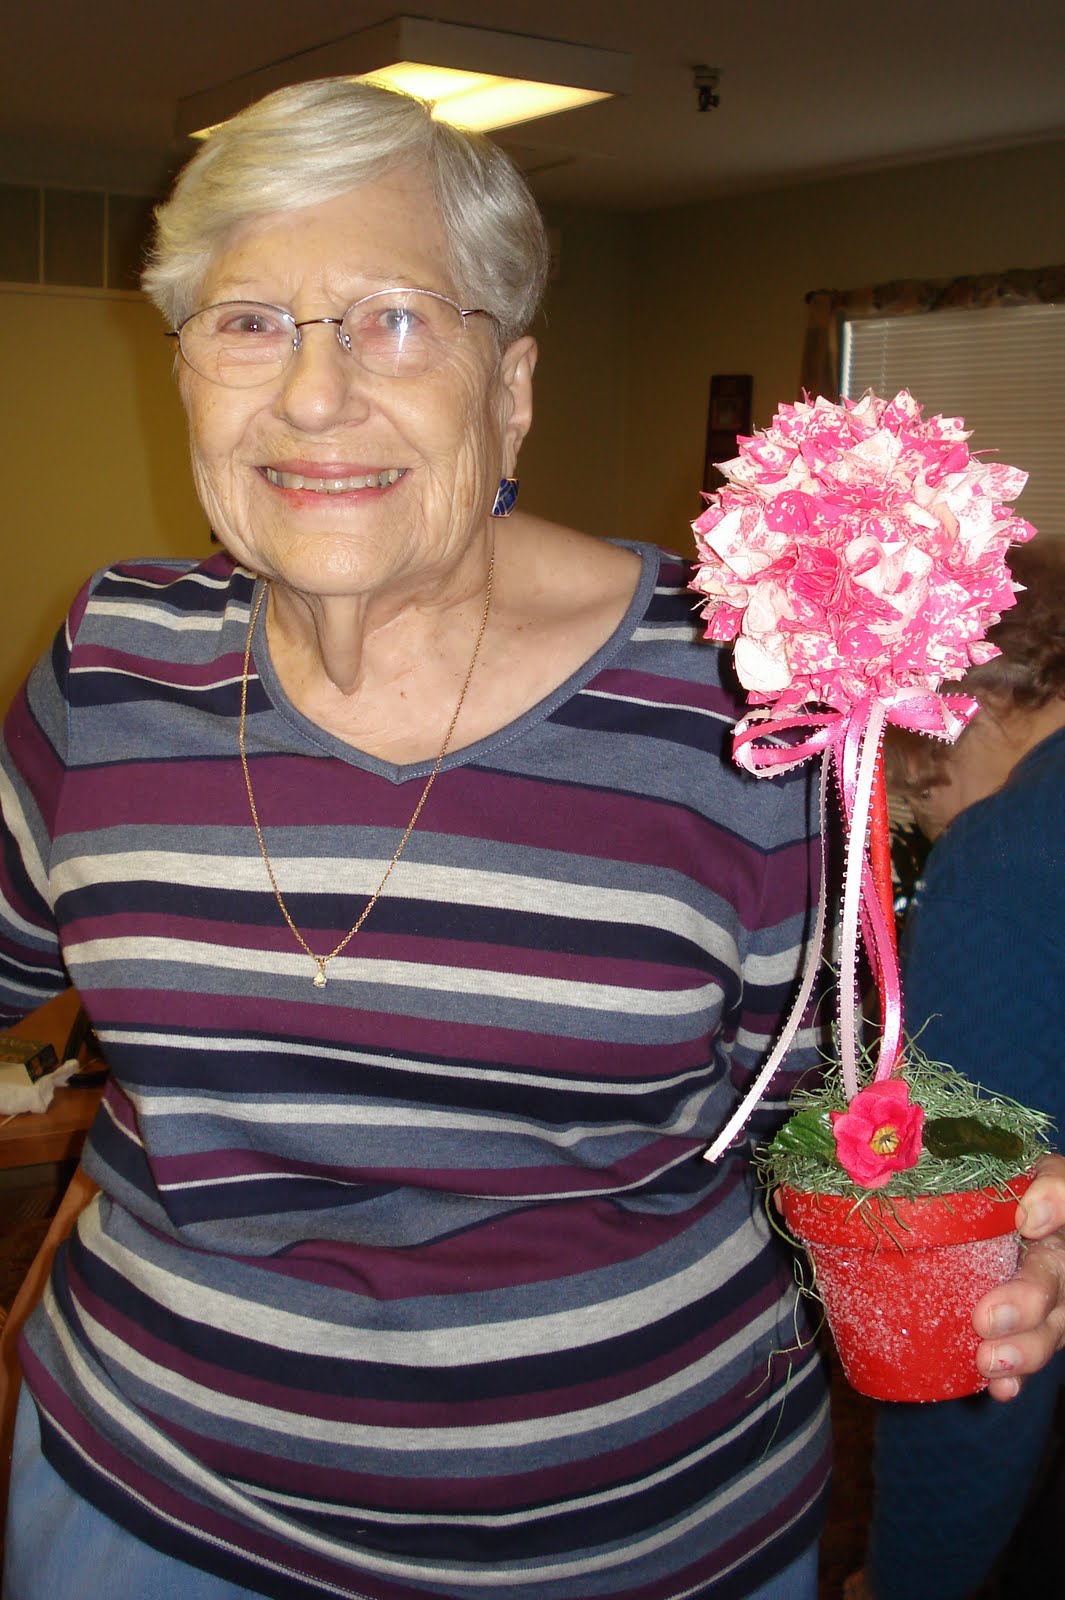
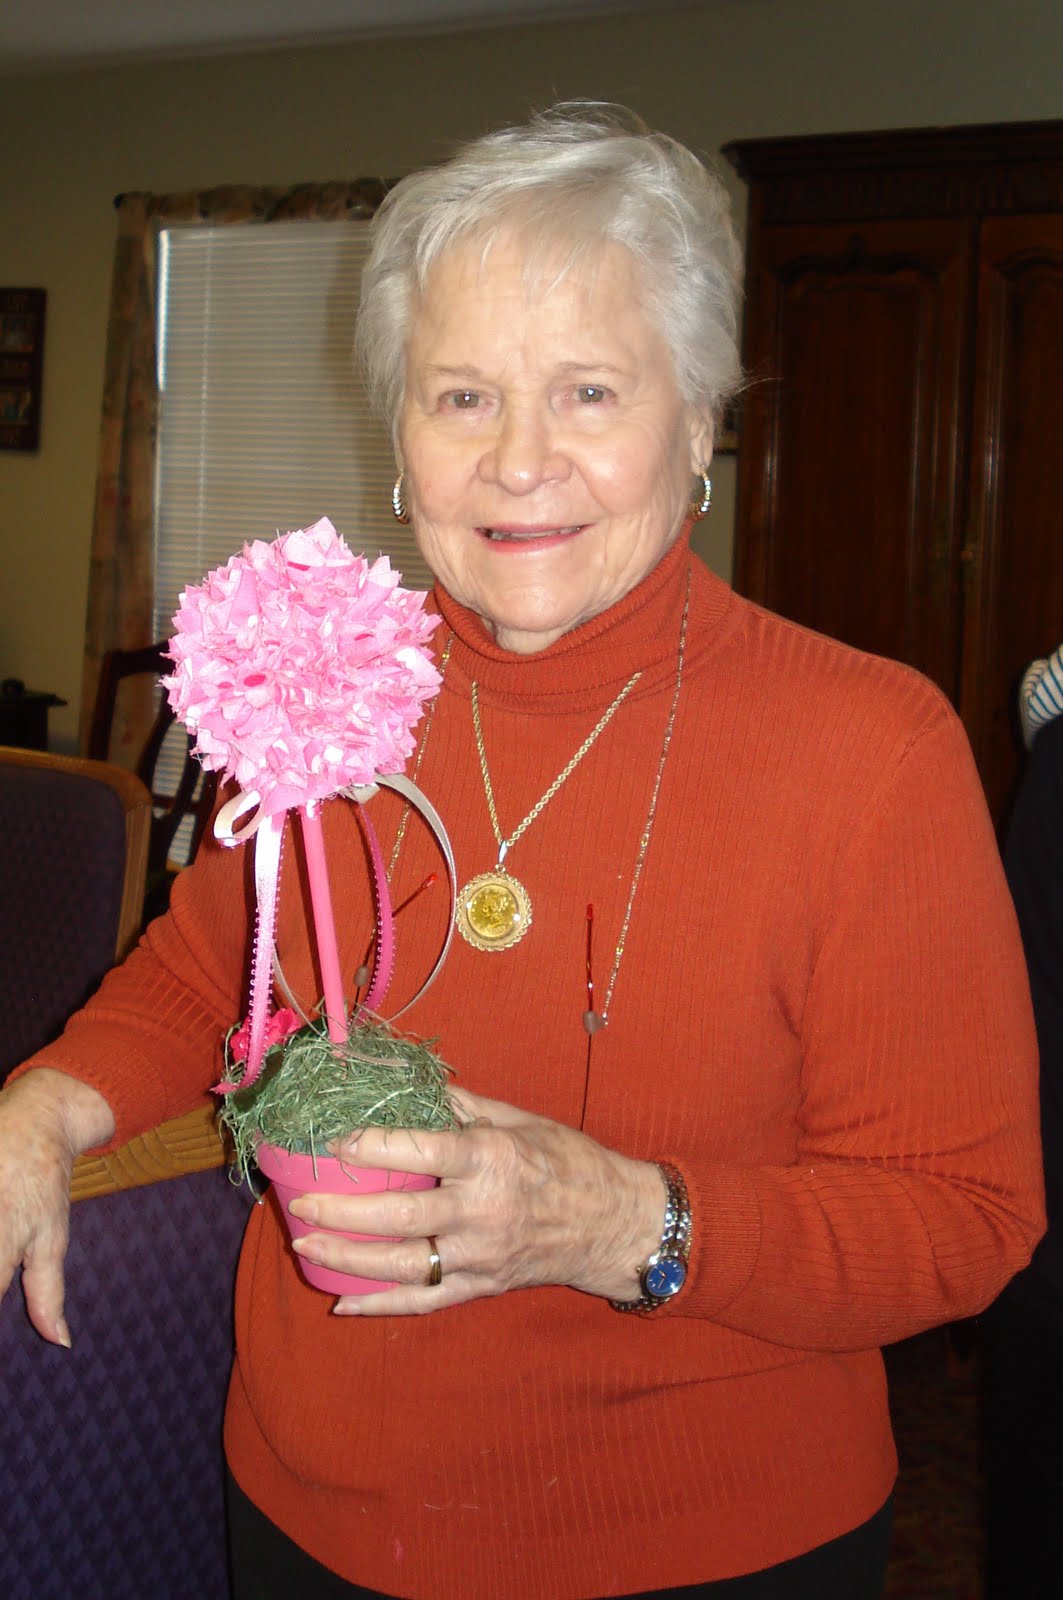


Great Job Girls! Your Topiaries look as wonderful as you do!
Till next time- Keep those creative juices flowing and have fun!
Stephane
Eggshell Mosaic with Watercolor at Horizon Bay
My class at Horizon Bay in Plano has been working on a mixed media project using Eggshell Mosaics with Watercolor and Acrylic Backgrounds. I first saw this project on That Artist Woman's blog. Even though this project was designed for elementary school art students, it is certainly challenging enough for adult beginning watercolor artists.
This project has multiple steps, and cannot be completed in just one class, For my students, this is takes about three one hour sessions to complete the whole project. We started our project during our regular Arts and Crafts class and completed the Watercolor portion of the project during last night's Wine and Watercolor class.
This project uses lots of different techniques and everyone's project really show's their individual personalities.
In our first class we painted our eggshells with acrylic paints and created our eggshell mosaics:

Once the eggshells dried, we broke pieces of eggshell (a little smaller than a quarter) and painted the inside of the shell with Modge Podge and also painted a small square of Modge Podge on our card board. Then taking our thumb, we pressed the eggshell onto the card stock making sure it cracked into smaller pieces.
We mixed the different shells together to create an interesting combination of colors on our sheet. And we painted Modge Podge on the top of the eggshells as we continued to fill up the card.

As you can see, each student's mosaic sheet turned out very different. Once we finished our mosaic sheet, we left them to dry on the window sill. If needed, we can add more eggshells to the card stock at a later time.
In our Wine and Watercolor class last night, we completed the second step of our project and did our watercolor background for our art piece:
This was our first watercolor class, and we learned how to apply a wet on wet wash. First we taped our water color paper to our board and measured out three equal sized sections ( the paper will be cut in thirds later). Then we wet our paper with water and applied our paint. For most of my students, this was their first experience using watercolor, and they all did a great job!
While our backgrounds were wet, we crinkled cling wrap up and applied it to the wet paper to create an interesting texture for our background. You really have move quickly and do this technique when the paper is still pretty wet, or it does not work very well.
And that was about all we could complete as most of our backgrounds were still wet. During our next class we will paint our tree limbs with acrylic paint, cut our painting into three sections, cut leaves from our eggshell mosaic sheets, apply them to our backgrounds and then mount our picture to black card stock.
I will post our completed projects after our classes in February.
Today my class will be doing a tied fabric wreath for Valentines Day. I'm very excited about this new project- this is my first time teaching this project- and will post pictures of our masterpieces later this week!
Have Fun and Stay Creative!
Stephane
This project has multiple steps, and cannot be completed in just one class, For my students, this is takes about three one hour sessions to complete the whole project. We started our project during our regular Arts and Crafts class and completed the Watercolor portion of the project during last night's Wine and Watercolor class.
This project uses lots of different techniques and everyone's project really show's their individual personalities.
In our first class we painted our eggshells with acrylic paints and created our eggshell mosaics:

 | |||||
| Inez painting her eggshells |
 |
| Kris applying the eggshells to card stock |
We mixed the different shells together to create an interesting combination of colors on our sheet. And we painted Modge Podge on the top of the eggshells as we continued to fill up the card.

As you can see, each student's mosaic sheet turned out very different. Once we finished our mosaic sheet, we left them to dry on the window sill. If needed, we can add more eggshells to the card stock at a later time.
In our Wine and Watercolor class last night, we completed the second step of our project and did our watercolor background for our art piece:
 |
| Painting our backgrounds |
 | |||
| Hard at work! |
 |
| Our paintings covered in cling wrap |
I will post our completed projects after our classes in February.
Today my class will be doing a tied fabric wreath for Valentines Day. I'm very excited about this new project- this is my first time teaching this project- and will post pictures of our masterpieces later this week!
Have Fun and Stay Creative!
Stephane
Friday, January 7, 2011
Happy New Year 2011!
January 7, 2011
January is kicking off fast and furious as expected- full of fun winter activities and new classes. This Winter/Spring semester I am introducing a new Wine and Watercolor evening class that I have been wanting to try for a while now. This class is for beginning watercolor artists. We will learn a new watercolor technique each time we meet- all while we visit and sip a nice glass of wine- hopefully we will end up with some pretty pieces of art as well! If not, we will certainly have fun trying!
Speaking of wine- I’m also starting Monthly Wine Tastings where we will learn about different wine regions, how to correctly taste and appreciate wine and will compare Old World and New World wines, plan Horizontal and Vertical tastings, Pair Chocolate with Dessert wines and so much more. Looking forward to our first wine tasting class next week!
In addition, I have some other fun ideas to share- an Internet Savvy Seniors class, a Monthly Book Club and Latin Rhythm jam. I'm planning lots of fun art projects this month for my Arts and Nature Crafts classes including photo calendars, batik fabric banners, handmade papers,fabric topiaries and a great eggshell mosaic project I saw on the "That Artist Woman" blog.
Hoping to share tutorials and photos of some of these projects later this month. Gardening will take a back seat in January while the earth takes a well deserved rest, but it will be time to plan Spring gardens before you know it!
Here’s to a wonderful fun-filled year!
Stephane
 |
| Cheers to 2011! |
Speaking of wine- I’m also starting Monthly Wine Tastings where we will learn about different wine regions, how to correctly taste and appreciate wine and will compare Old World and New World wines, plan Horizontal and Vertical tastings, Pair Chocolate with Dessert wines and so much more. Looking forward to our first wine tasting class next week!
In addition, I have some other fun ideas to share- an Internet Savvy Seniors class, a Monthly Book Club and Latin Rhythm jam. I'm planning lots of fun art projects this month for my Arts and Nature Crafts classes including photo calendars, batik fabric banners, handmade papers,fabric topiaries and a great eggshell mosaic project I saw on the "That Artist Woman" blog.
Hoping to share tutorials and photos of some of these projects later this month. Gardening will take a back seat in January while the earth takes a well deserved rest, but it will be time to plan Spring gardens before you know it!
Here’s to a wonderful fun-filled year!
Stephane
Subscribe to:
Posts (Atom)